Set-up Instructions
| This section is under construction |
Import VM
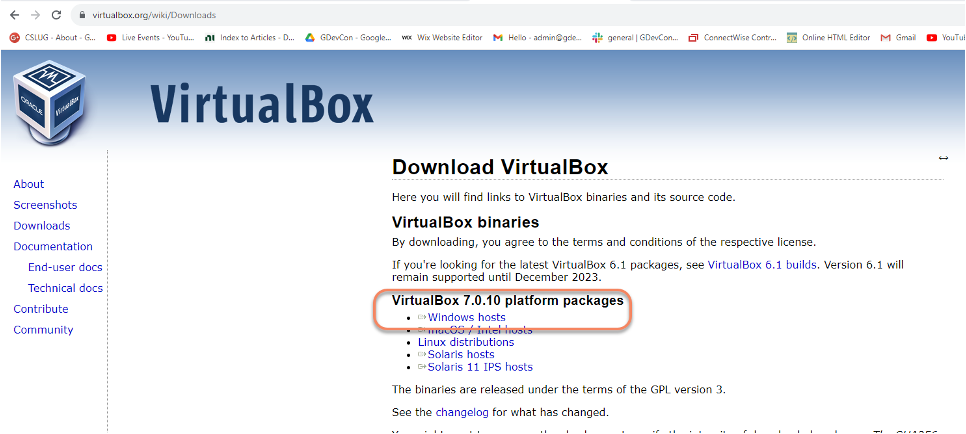
Download OVA file
Now File>>Import Appliance into Virtualbox
Find the downloaded OVA and press Next
Press finish and the OVA will Import and appear as a new Virtual Machine (VM).
When imported open the new VM
Tip the right ctrl button will free your mouse if the VM steals it.
Login as root, this solves a lot of issues with LabVIEW and Linux. Password is the same as the normal login. (labviewtraining)
Click here and select Other… enter root and password (labviewtraining)
And you should see the following.
Setting Up Your Keyboard
To change to a different keyboard, open up the start-up menu and select settings>>keyboard.
Select the keyboard that suits from the extensive list!
Load and Activate LabVIEW
Activate LabVIEW Community Edition License – you’ll need an active account on NI.com.
This will load the activation website in using Firefox
Tap in your user account details and the LabVIEW license will activate.
If you want to remove a license, the .lc file can be found in /root/natinst/.config/LabVIEW-2022/
LabVIEW will now load as normal
Install Course Materials
We’ve modified the Getting Started Window, this link will take you to the CTI Github repo.
Select the course you wish to give.
Download as a zip file
Click on the file symbol
and extract to /root/Desktop
You should now have a desktop that resembles this
Installing Drivers
Open up ../4) LabVIEW Instrument Drivers in a window
Using the File System icon on the desktop navigate to /usr/local/natinst/LabVIEW-2022-64/instr.lib
Drag HandsOnPi2040 directory to ../instr.lib
Open LabVIEW and create a new VI. Check the drivers are in the instr.lib as expected
Setting Pico Firmware
Each Raspberry Pi Pico will need the course firmware installed on it.
Hold the BOOTSEL button down on the Pico and plug the USB cable into the computer. The Pico will act as a flash drive.
In the Linux VM select Devices>>USB>>Raspberry Pi RP2 Boot [0100] (or similar)
This will mount the harddrive on the desktop
Next drag and drop the course firmware file onto the Pico. This will install and the Pico LED will flash green 6 times.
Connect and Test the Pico
In the Linux VM select Devices>>USB>>Raspberry Pi Pico [0100] (or similar)
Connect the Pico
Hardware
Raspberry Pi Pico or Pico W. USA and UK Suppliers - We’re probably going to standardise on Pico-W https://www.pishop.us/product/pico-breadboard-kit/ https://thepihut.com/products/analog-test-board https://www.waveshare.com/analog-test-board.htm https://thepihut.com/products/breadboard-kit-for-raspberry-pi-pico
Support Software
Part of the idea behind this project is there to be zero costs for the software side of things. The VM is pre-loaded with LibreOffice – it is the preferred medium for Manuals The VM also has a program called Pinta – this is a layered graphics program similar to Paint.net. The wiring diagrams are made with this.
